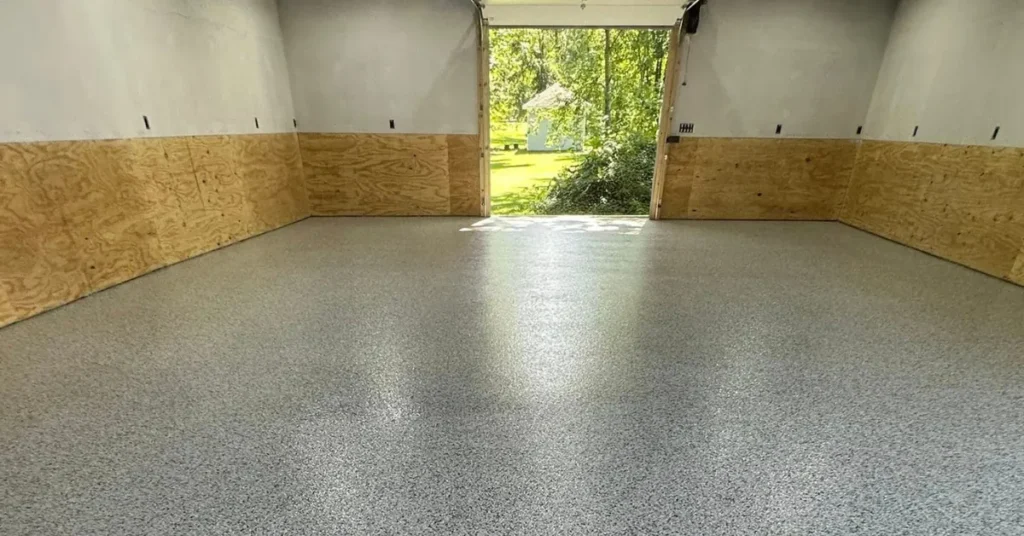
Most homeowners have no idea what actually goes into installing an epoxy garage floor. They see the finished product, maybe they see a crew show up in the morning and leave in the afternoon, and they get a great floor. But the process behind that result is more involved than it looks.
Understanding the installation process helps you know what to expect on installation day and what questions to ask any contractor you consider hiring. It also helps you understand why professional installation produces results that DIY kits cannot replicate.
Step 1: Concrete Assessment and Preparation Planning
Before any grinding or coating begins, a professional crew assesses the concrete. This includes a hardness test to determine the density of the slab and identify the correct diamond configuration to use during grinding.
The crew also looks for cracks, chips, pitting, or any previous coatings on the surface. All of these need to be addressed before the coating goes down. Existing coatings need to be removed. Damaged areas need to be documented so they can be repaired.
A moisture test is also performed. If moisture levels are elevated, a moisture vapor barrier will need to be installed before the base coat.
Step 2: Diamond Grinding for Surface Profiling
This is the most labor-intensive part of the process and the most critical one for long-term results. Commercial-grade diamond grinders are used to open up the surface of the concrete.
The grinding process removes surface contaminants, any previous coatings or sealers, and creates a mechanical profile in the concrete. This profile gives the epoxy something to grip. It is what allows the coating to penetrate deeply and form a strong, permanent bond.
Dust is minimized during this step through vacuum systems attached to the grinding equipment. The garage will be dusty to some degree, but professional crews manage this as part of their process.
Step 3: Crack and Pit Repair
Once the concrete is ground and the surface is profiled, any cracks, pits, or damaged areas are repaired. A 100% solids filler is used to fill cracks and level pitted areas to create a smooth, uniform surface.
This step ensures the coating has a consistent surface to adhere to and prevents existing damage from affecting the finished appearance of the floor.
Step 4: Base Coat Application
With the surface fully prepared, the base coat is applied. For indoor garages, this is typically a commercial-grade epoxy. The epoxy is mixed on-site and applied across the entire floor.
The crew works within the product’s working window, applying the base coat evenly and efficiently across the full surface. This step requires coordination and experience. The base coat needs to be uniform across the entire floor before the next step begins.
Step 5: Flake Broadcast
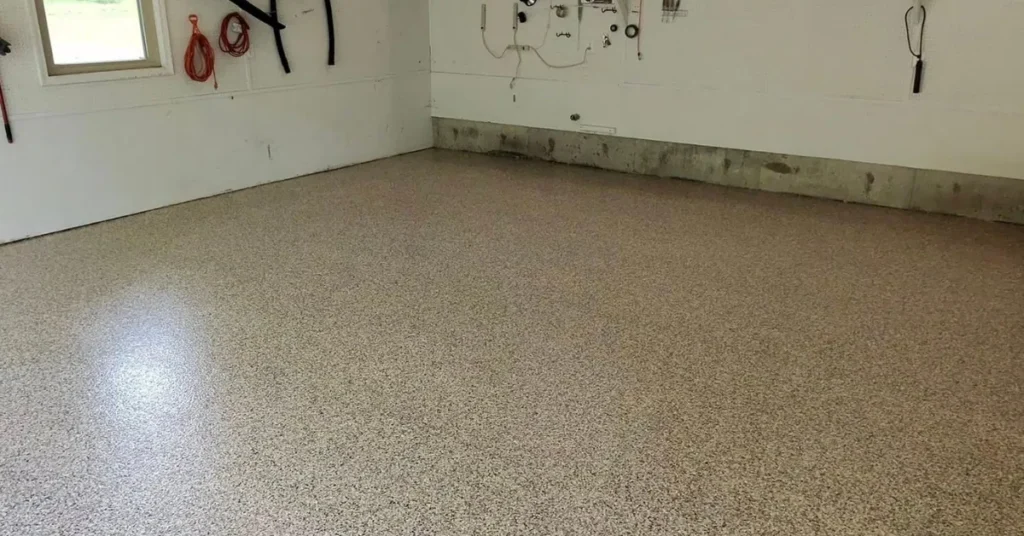
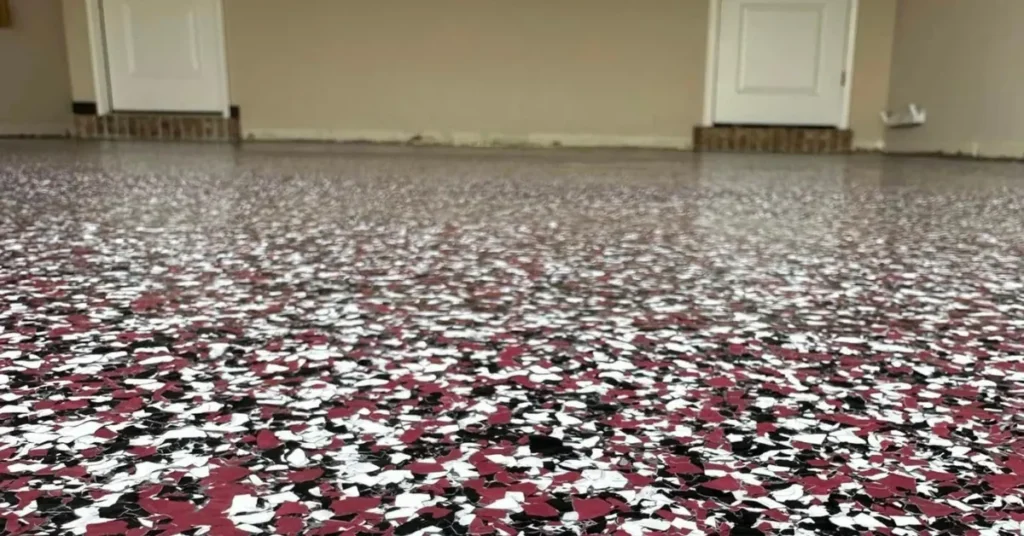
While the base coat is still wet, decorative vinyl flakes are hand-broadcast across the surface. This step requires the crew to work quickly and methodically to ensure even, complete coverage before the base coat begins to cure.
The flakes are cast across the surface in overlapping passes to create consistent coverage. Once applied, the flakes embed into the wet base coat.
Color selection happens before installation day. The homeowner chooses a flake color blend that matches their style, home exterior, or any other design preference. Standard blends are available and custom blends can often be arranged.
Step 6: Curing and Excess Flake Removal
After the base coat cures, the surface is covered with loose, excess flake that did not embed into the coating. This excess is scraped away using commercial-grade scrapers.
Once the loose flake is removed, industrial blowers and vacuums are used to clean the surface completely before the top coat goes down. The floor should be completely clean and free of loose material before the final step.
Step 7: Polyaspartic Top Coat Application
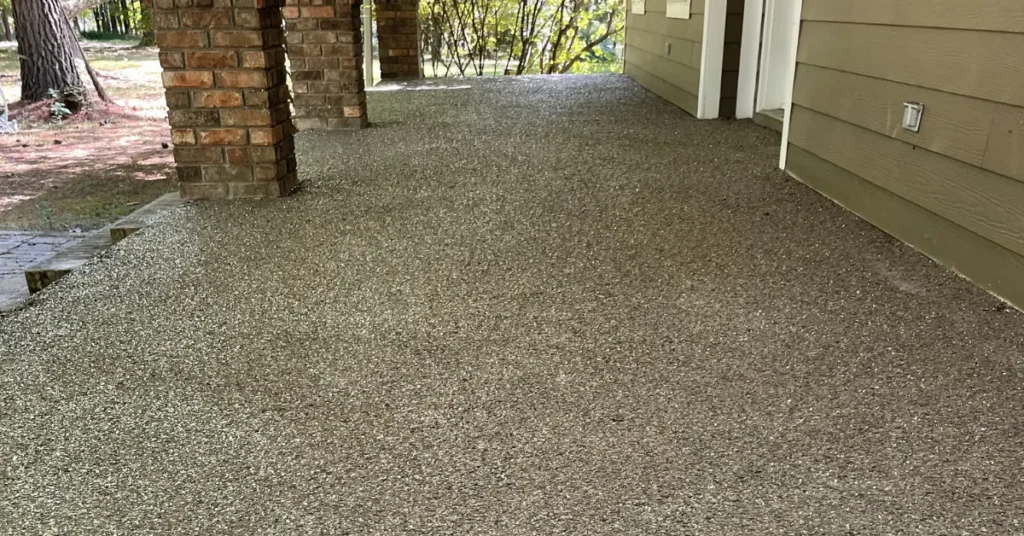
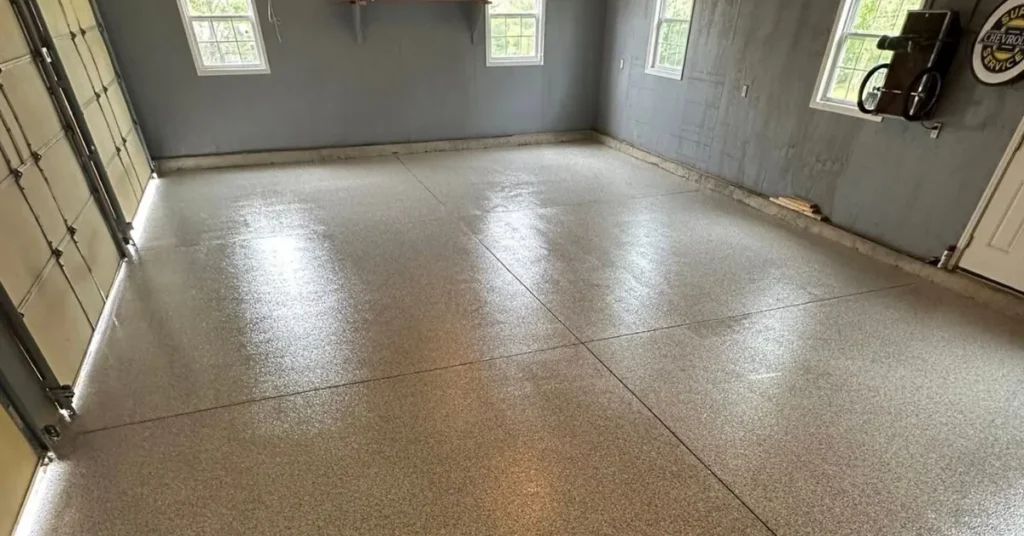
The final step is the application of the polyaspartic top coat. This is the protective and finished layer of the system. It is applied over the embedded flake surface using rollers and the correct technique to produce a smooth, uniform, mark-free finish.
The polyaspartic top coat provides UV stability, scratch resistance, and the durability that makes this floor system hold up under daily use. It is what the eye sees and what takes the daily abuse of traffic, spills, and activity.
What Happens After Installation
Once the top coat is applied, the garage needs to remain undisturbed for the coating to cure properly.
- Garage door: should remain open for at least 6 hours to allow proper air circulation and curing
- Light foot traffic: 24 hours after completion
- Parking vehicles or moving heavy items back in: 72 hours after completion
These timelines apply to standard epoxy and polyaspartic systems. The crew will confirm specific cure times on installation day.
How Long Does the Installation Take?
Most standard residential garage installations are completed in a single day. The crew typically arrives in the morning, completes all steps, and is done by the afternoon or early evening. Some larger or more complex jobs may take longer.
The one-day timeline is made possible by modern product formulations and experienced crews who know how to work efficiently within each product’s working window.
FAQ’s
Do I need to be home during the installation?
It is helpful to be available at the start of the job to confirm the work scope and color choice, but you do not necessarily need to be present for the entire installation. Confirm with your contractor what they prefer.
What do I need to do to prepare my garage?
The space should be completely cleared at least 12 hours before the crew arrives. Remove all vehicles, storage items, rugs, and other belongings. Remove any dust-sensitive items from the garage area. Keep the garage wall area clear for 2 feet above the floor to give the crew room to work with equipment.
Can the crew work around items that cannot be moved?
Most crews prefer to work on a completely empty space to ensure full and consistent coverage. If there are items that truly cannot be moved, discuss this with your contractor before the job starts.
Is the installation loud or disruptive?
The diamond grinding phase is the noisiest part of the process. It is comparable to heavy power tool use. The coating application steps are relatively quiet. The full process typically takes most of the day.
Ready to see what a professional installation looks like? Contact Cutting Edge Epoxy for a FREE quote.