The DIY epoxy kits at the hardware store look appealing. They’re cheap, the instructions seem simple, and the before-and-after photos on the packaging look great. So why pay a professional several thousand dollars when you could do it yourself for a few hundred?
The answer comes down to what you are actually installing, how the surface is prepared, and what you can realistically expect the floor to look like in two years.
This guide gives you an honest comparison so you can make the right decision for your garage.
The Product Is Different
This is the most important thing to understand: the epoxy kit at the hardware store is not the same product a professional uses.
DIY kits are typically water-based or have a lower solids content. This means the coating is thinner and does not penetrate as deeply into the concrete. The bond it forms is weaker than a commercial-grade product.
Professional-grade epoxy is thicker, has a higher solids content, and is formulated to create the kind of deep, aggressive bond that comes from penetrating into the pores of a properly prepared concrete surface.
The difference in product quality is real and it directly affects how long the floor lasts.
Surface Preparation Is Where DIY Fails Most Often
DIY kits typically rely on acid etching as the surface preparation method. Acid etching uses a muriatic or phosphoric acid solution to clean and lightly etch the concrete surface. It is easier and cheaper than diamond grinding. It is also significantly less effective.
Diamond grinding, which professional installers use, opens up the concrete much more aggressively. It removes surface contaminants and creates a mechanical profile that allows the coating to bond far more deeply. A properly ground surface is the foundation of a long-lasting floor.
An acid-etched surface is a shortcut. The floor may look fine for the first year or two. Then it starts to peel. This is the most common complaint about DIY epoxy floors.
Moisture Testing and Vapor Barriers
One step that DIY kits almost never include is moisture testing. Before any professional installation, the moisture level in the concrete should be tested. If moisture is present at levels above what the base coat can handle, a moisture vapor barrier is applied first.
Moisture coming up through the concrete is one of the leading causes of coating failure. Skipping the moisture test and skipping the vapor barrier saves time and money upfront. It also creates a floor that is at much higher risk of delamination over time.
The Application Process
Applying epoxy is more complicated than painting a wall. The product has a working window. Once mixed, the clock is ticking. If you work too slowly, the product can start to cure before you finish applying it, leading to an uneven, compromised surface.
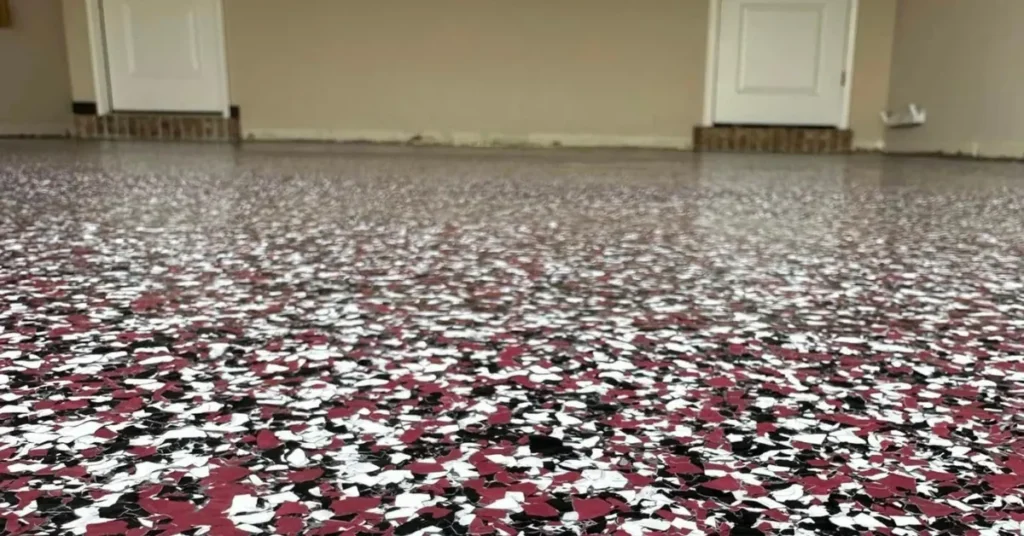
For flake systems, the flake has to be broadcast into the base coat while it is still wet. Timing this across a large surface requires experience. Miss the window in some areas and those sections will not have proper flake coverage.
Professional crews have done this dozens or hundreds of times. They know the product, they know the timing, and they have the tools and manpower to work efficiently across the entire surface within the required window.
What DIY Floors Look Like Over Time
Most DIY epoxy floors installed with hardware store kits look decent for the first year or two. Then the problems start.
Peeling and delamination are the most common failure modes. This is almost always the result of inadequate surface prep. The coating was never properly bonded to the concrete, and daily traffic and temperature changes gradually pull it apart.
Uneven flake coverage is another common issue. Areas where the base coat began to cure before the flake was broadcast end up with sparse or missing coverage. The floor looks inconsistent and amateurish.
Color degradation is also common. Lower-grade products and top coats without proper UV protection will fade, yellow, or change color over time, particularly in spaces with any sunlight exposure.
The Real Cost Comparison
A DIY kit for a two-car garage might cost $300 to $600. A professional installation for the same garage starts around $2,600.
If the DIY floor lasts two to three years before peeling and needing to be redone, the real cost is $600 every two to three years plus your time. If the professional floor lasts ten or more years, the math changes significantly.
There is also the cost of stripping and redoing a failed DIY floor. Removing a poorly bonded epoxy coating from concrete is labor intensive and can add cost to a professional installation if the floor was previously DIY-coated.
When DIY Makes Sense
If you are coating a utility space, a storage area, or any space where appearance and longevity are not priorities, a DIY kit might be acceptable. It is not the right choice for a garage where you want the floor to look great and hold up under vehicle traffic and real daily use.
If the goal is a floor that looks professional, stays looking good, and does not need to be redone in two years, hire a professional.
What a Professional Installation Looks Like
At Cutting Edge Epoxy, every installation starts with a concrete assessment and commercial-grade diamond grinding. The floor is tested for moisture, cracks and pits are filled, and the coating system is applied by an experienced crew that knows the products and the process.
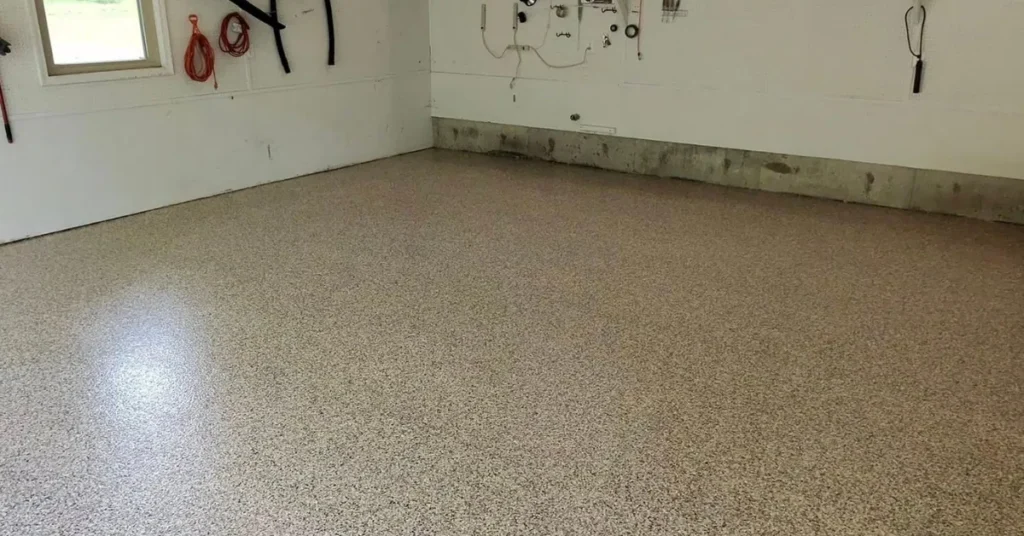
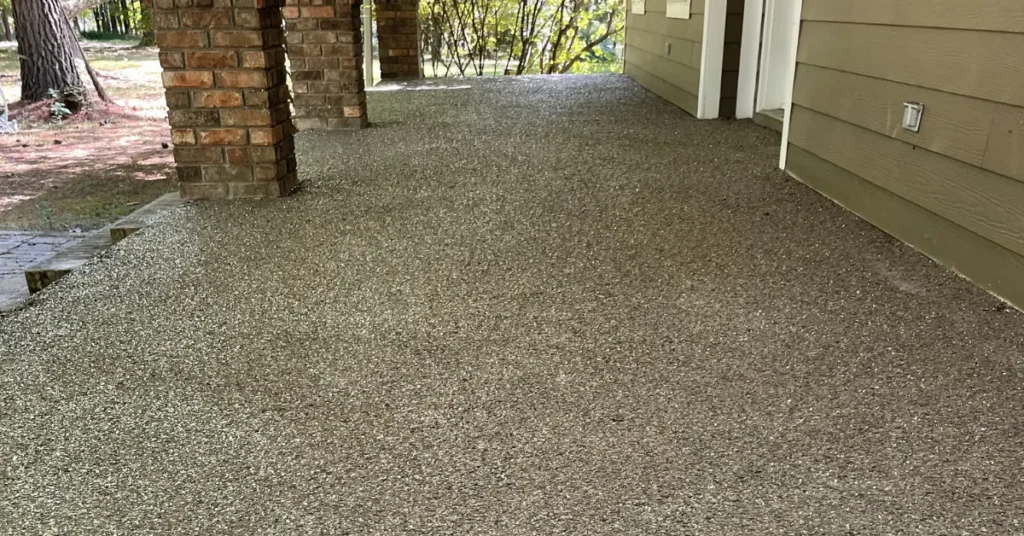
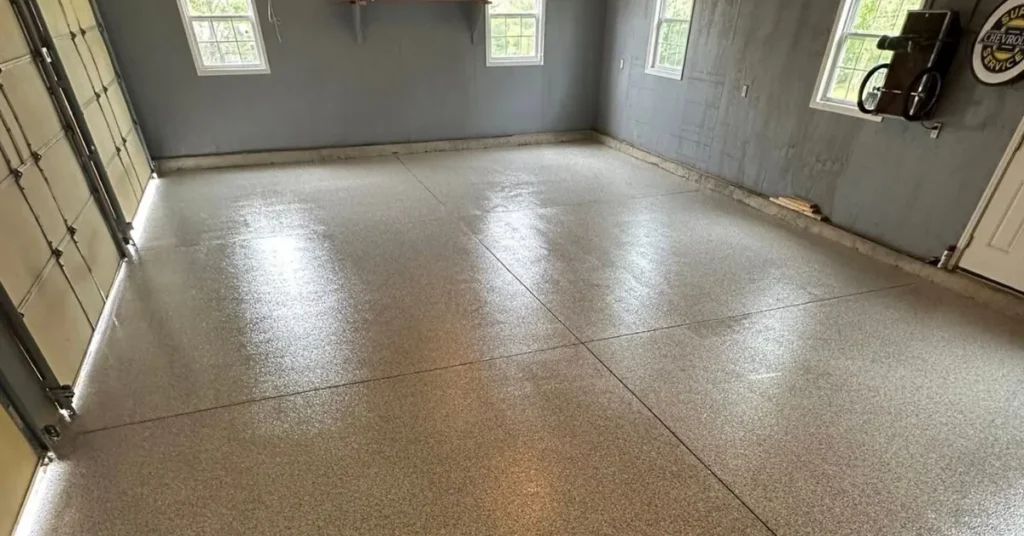
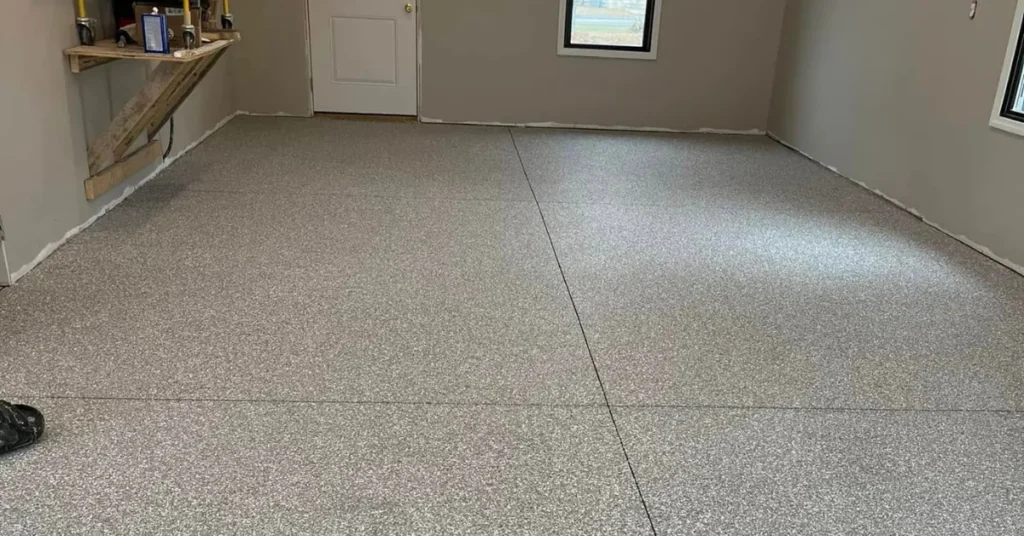
The result is a floor where the flake coverage is uniform from wall to wall, the top coat is smooth with no roller marks, and the overall appearance is consistent and seamless. This is what a professional floor looks like. And this is what it looks like five and ten years from now, with proper maintenance.
FAQ’s
Can I DIY an epoxy floor and have it come out professional-looking?
It is very difficult to achieve professional results with DIY products and methods. The product formulations, surface preparation methods, and application techniques used by professionals are fundamentally different from what is available in a retail kit.
How hard is it to remove a failed DIY epoxy floor?
Removing a poorly bonded epoxy coating from concrete is time-consuming and labor intensive. It typically involves diamond grinding the coating off the surface. This is one of the hidden costs of a failed DIY install if you later decide to have a professional coat the floor.
How long does a professional epoxy floor last vs DIY?
Professional installations using commercial-grade products and proper prep regularly last 10 or more years. DIY floors with hardware store kits and acid etching commonly begin to peel or degrade within two to three years.
Is it worth getting a professional quote before deciding?
Yes. A free quote gives you a real price to compare against the DIY option. When you see the actual cost difference and understand what the professional installation includes, most homeowners find the value of professional work is clear.